
The Instant Pot serves as a reliable solution to achieve perfect rice results effortlessly. It provides both uniform rice quality and effortless preparation for all types of rice including white, brown and jasmine.
Understanding how to cook rice in Instant Pot enables quick results and offers perfectly cooked rice grains with every use. Instant Pot performs a more efficient cooking because it operates with perfect pressure control and steam regulation features.
The perfect measurement of water to rice and proper settings enables you to prepare restaurant-like rice. Cooking rice in Instant Pot is a recommended technique to use and highly reliable.
This instruction provides step-by-step guidance on how to cook rice in Instant Pot rice with critical setting information.
Following the guidance, you will learn how to prepare perfect rice without much effort.
How To Cook Rice In Instant Pot
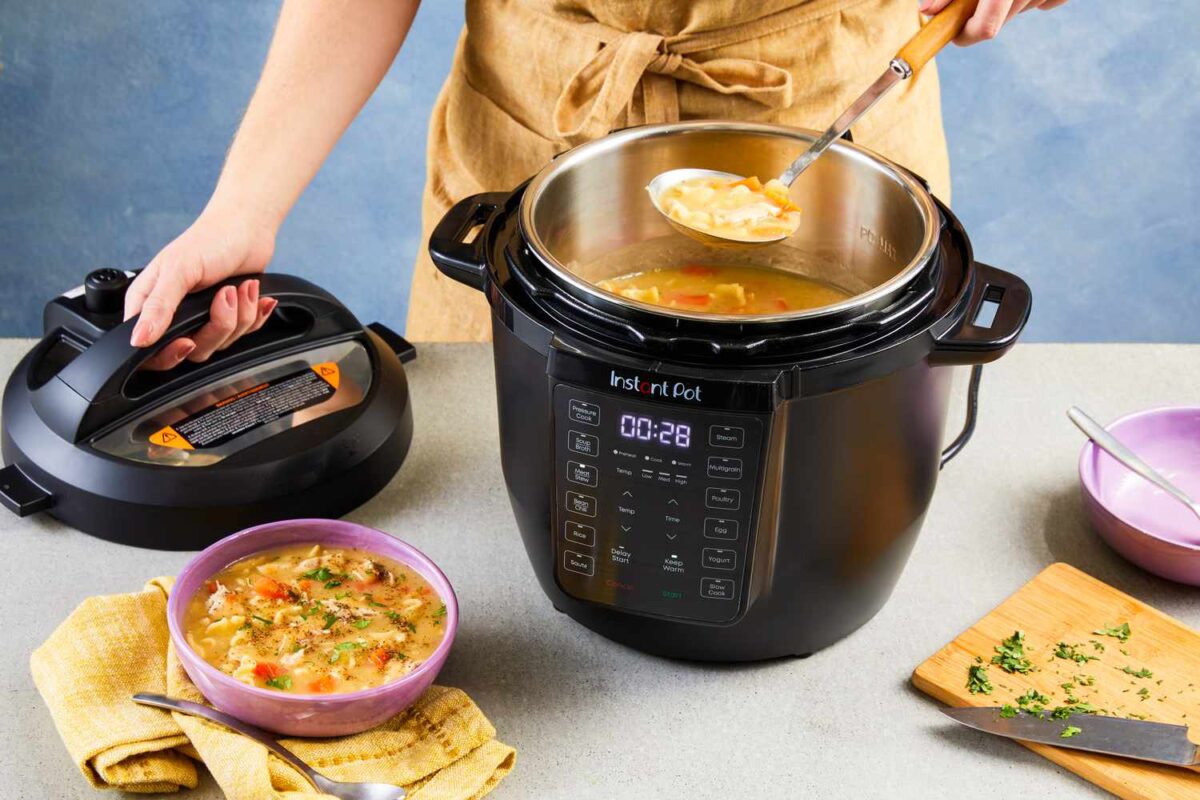
Home cooking has been completely transformed by the Instant Pot because it enables quick preparation of convenient meals. This electric pressure cooker functions as multiple appliances to speed up food preparation through high-pressure steam which cooks food in reduced time.
Learning how to cook rice in Instant Pot gives the rice a perfect taste because rice cooks perfectly in the Instant Pot through its precise setting while the user avoids monitoring the cooking process.
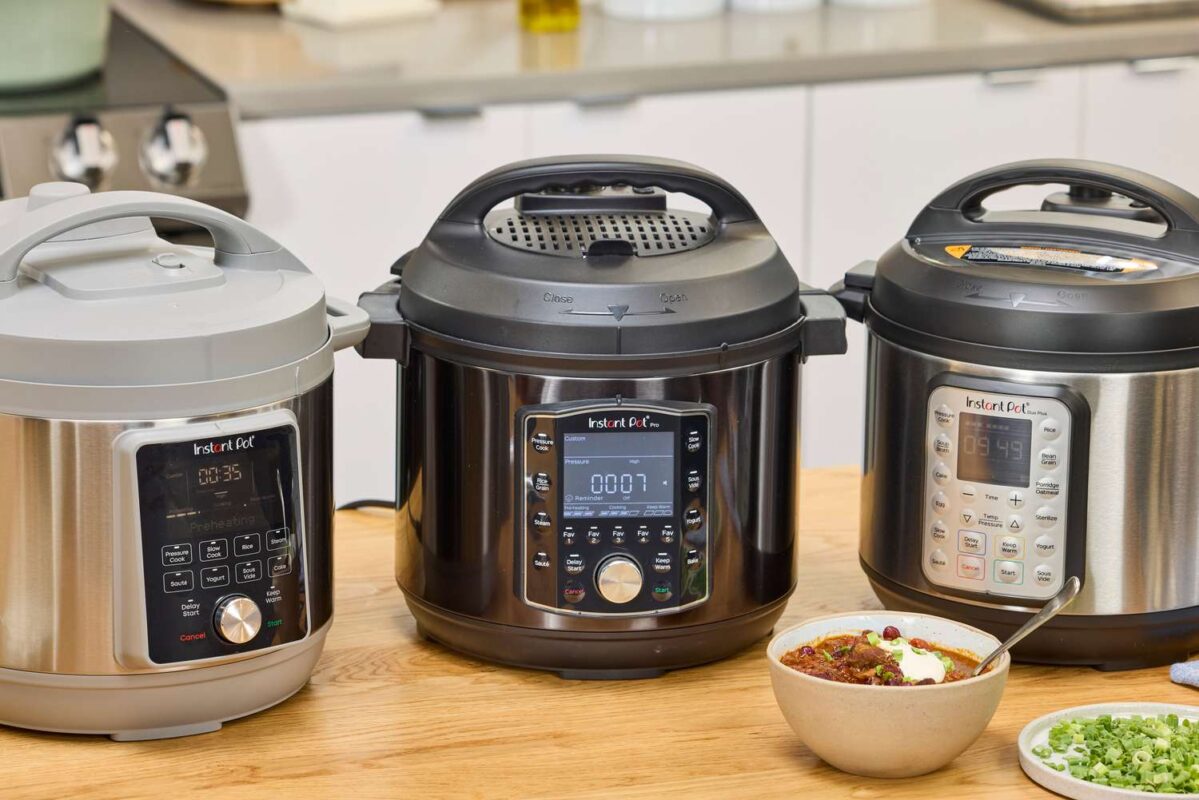
The diverse lineup of Instant Pot devices includes pre-set “Rice” function engineering for white rice among most units. Users prefer to utilize the “Pressure Cook” function for diverse rice types because this mode enables them to adjust both cooking time and pressure parameters.
Settings management capabilities in this product enable perfect preparation of different rice types including basmati and sushi rice.
There are two methods of pressure release featured in the Instant Pot system namely:
Natural Release:
The natural release process allows the pressure to drop at a slow pace thus protecting the rice from becoming sticky or overcooked.
Quick Release:
This feature performs a quick steam release during firmer rice preparation.
The basic functions in your rice cooker allow you to set perfect cooking conditions for every batch effortlessly.
Types of Rice and Water Ratios
Most people succeed in preparing perfect rice through controlling the correct ratio between their rice and their water. Different kinds of rice require varying amounts of water hence the water ratio needs a specific adjustment. A reference list follows representing various rice types.
1. White Rice
Each cup of white rice needs one cup of water for perfect cooking results between 3 to 5 minutes under high pressure followed by a passive release mode. White rice exists in three forms (long-grain medium-grain short-grain) and this formula yields light and airy dishes suitable for regular meals.
2. Brown Rice
The recommended water quantity for brown rice is 1 cup of rice to 1.25-1.5 cups water while cooking it at high pressure for 20-22 minutes with no pressure release needed. This method delivers a nutritious product with a chewy texture.
3. Jasmine Rice
To prepare Jasmine Rice, the ratio of rice to water is 1:1 while the cooking time through high pressure amounts to 3-4 minutes and requires a natural release method to achieve fragrant and soft grains with a slight sticky texture.
4. Basmati Rice
One cup of Basmati rice requires one cup of water while you should cook it for 4 to 6 minutes under high pressure and let it naturally release. This variety has separate long grains suitable for traditional Indian cuisine.
5. Sushi Rice
The preparation ratio for Sushi Rice (short-grain sticky rice) includes 1 cup rice and 1.1 cups water. Letting the pressure release naturally requires 5 minutes of cooking duration at high pressure setting. The end result produces sticky rice suited for sushi and Asian cuisine.
6. Wild Rice
To prepare Wild Rice, use 1 cup of rice to 2.5 cups of water with a high-pressure cooking time of 25-30 minutes followed by natural release. This will yield chewy nutty results.
Read More
Cook White Rice With Magic Steps
How To Cook Rice Like A Professional Chef
Step-by-Step Guide to Cooking Rice in an Instant Pot
Here are few steps to follow especially when you are just learning how to cook rice in Instant pot:
Step 1: Rinse the Rice
Adding water to rice then gently swishing it and draining the water eliminates starch which prevents rice from becoming sticky. The rice needs to go into a shallow bowl where you need to pour water before swishing it together. Perform the water drainage procedure multiple times until the water appears transparent.
Step 2: Rice and Water measurement.
Select the proper amount of water you need to cook your selected type of rice. Additional water will bring out softer rice while extreme water amounts can cause mushy end results.
Step 3: Add Rice and Water to Instant Pot
You need to place rinsed rice along with water inside your Instant Pot container.
Place the rinsed rice inside the Instant Pot followed by the measured amount of water. Water offers sufficient taste in rice preparation so you can instead use broth or season with a small dash of salt for more flavor. Spread the rice grains throughout the cooking surface by using gentle stirring motions.
Step 4: Select the Cooking Mode
To prepare white rice through the Instant Pot, select the “Rice” button that functions on automatic low-pressure settings. When using pressure cooking for rice types other than white select the “Pressure Cook” option and follow with the necessary time and pressure settings.
Step 5: Start Cooking
After properly closing the lid, adjust the valve to “Sealing” then start the cooking process. After pressing the valve to a sealing position, the Instant Pot needs several minutes to develop pressure until the timer begins.
Step 6: Pressure Release
To achieve fluffy rice, opt for natural pressure release by allowing the automatic pressure release to happen between 10 and 15 minutes. The valve should be turned to “Venting” for quick release after the set cooking time to obtain firmer rice.
Step 7: Fluff and Serve
After all the pressure is released, open the lid with caution. A fork is needed to lift the rice and separate the grains in order to achieve a light and fluffy texture.
Learning how to cook rice in Instant Pot requires following these directions which produce perfect results at every cooking session.
Common Issues and Solutions
Cooking rice in Instant Pot presents several difficulties. People encounter several when learning how to cook rice in Instant Pots which we can address according to these examples:
Rice is Too Sticky or Mushy
Sticky and mushy rice develops due to an excess of water and inadequate rinsing. Observing the right measure of water in relation to rice helps avoid these problems during cooking. The initial rinsing of rice will wash away starch compounds thus reducing the amount of stickiness in cooked rice. The solution to mushy rice involves both shortening cooking time and decreasing the water amount.
Rice is Undercooked or Hard
The result of insufficient water combined with brief cooking duration leads to undercooked rice. Pressurize the pot for more minutes along with additional water before securing the lid again. Ensure proper water ratios and rice cook times for different rice types when preparing the dish again.
Instant Pot Shows “Burn” Notice
The “burn” error is one of the major challenges when learning how to cook rice in Instant Pot- Instant Pot system notifications. A “burn” message from the Instant Pot appears because rice or water has adhered to the bottom of the pot which blocks normal steam creation. A proper burn prevention occurs when you mix rice thoroughly with water and maintain an even distribution throughout the bottom. When you observe this issue in the Instant Pot, stop the cooking process. Stir the mixtures briefly and after adding more water secure the lid to continue the food preparation.
Storing and Reheating Rice
Correct methods of storing then reheating rice help maintain both flavor and texture of this dish. The following steps will help you maintain fresh rice:
Storage
The process of cooling cooked rice until it reaches normal room temperature must occur before any storage begins. Precipitation occurs when hot rice meets refrigeration conditions and results in soggy rice. The storage of rice in airtight containers at refrigerated temperatures will last between 4 and 6 days. To achieve extended rice storage, you should freeze pre-cooked rice for a maximum duration of 3 months.
Reheating
Before heating refrigerated rice, add several tablespoons of water across the surface to stop it from becoming dried out. Heat the rice in either a microwave or by placing the pot with a lid on low heat on the stove. No matter what type of rice you prefer, you should thaw it completely when cold storage reaches several days. To quickly heat frozen rice, you should microwave it while adding a splash of water for moisture protection.
Conclusion
Everyone who desires simpler meal preparation should learn how to cook rice in Instant Pot. Through its process, the Instant Pot provides both a quick rice cooking time and precise grain cooking consistency in each batch.
Users who follow its instructions can cook any type of rice including fluffy white and chewy brown without much effort through convenient settings. Precise rice to water measurements and cooking duration can resolve problems such as sticky or untasted rice.
Using a modern Instant Pot has made the entire rice cooking process simple and effortless. Using this itchen tool offers home cooks the opportunity to achieve professional-quality rice results through basic preparation steps that serve both everyday dinner-preparation needs and meal-planning requirements.