
Rice is a kitchen staple across the globe. But cooking it perfectly? That’s another story.
Thankfully, there’s a game-changer in many homes: the Aroma rice cooker. If you’ve just purchased one, or found it in your cupboard gathering dust, don’t worry—we’re here to help. With the right Aroma rice cooker instructions, you’ll cook rice like a pro.
Yes, really. These cookers are designed for simplicity and precision. So, let’s dive into how to use them the right way.
Why Choose an Aroma Rice Cooker?
Before we get to the instructions, let’s talk about why Aroma is so popular.
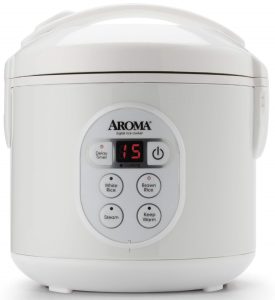
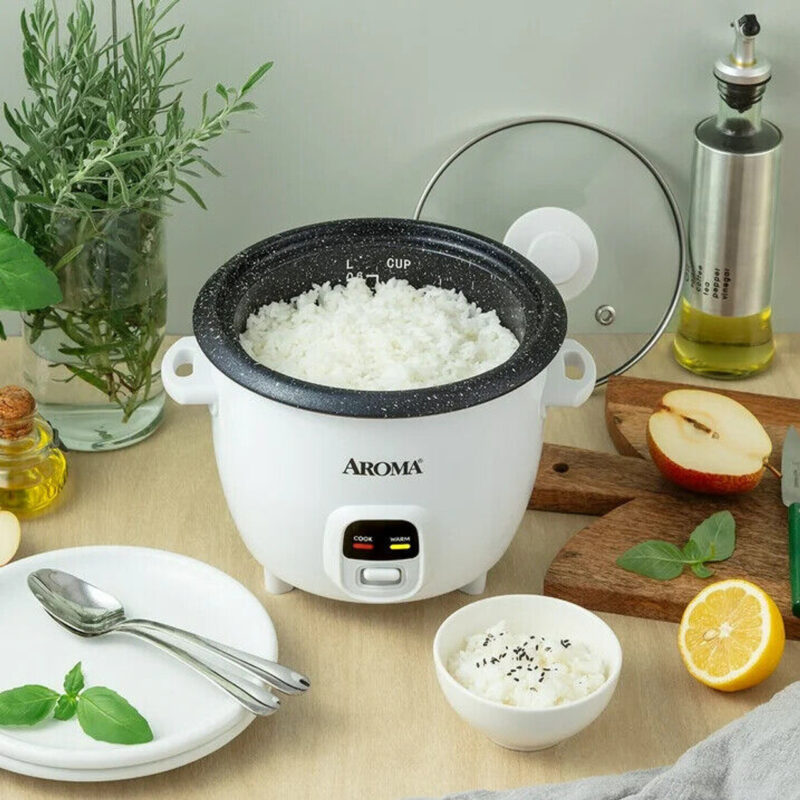
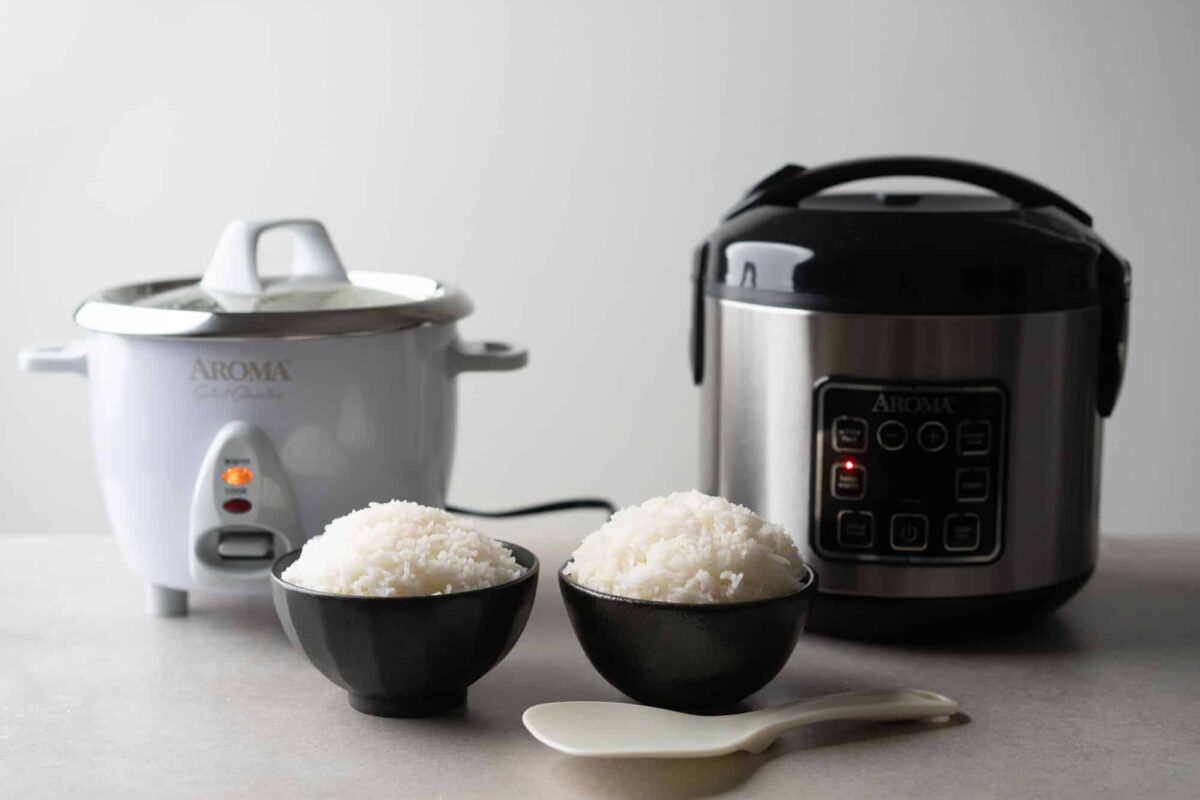
Aroma rice cookers are known for reliability and ease. With models ranging from basic one-button cookers to digital multi-cookers, they suit nearly every household. Whether you’re making white rice, brown rice, or even quinoa or soup, Aroma’s got your back.
The instructions may vary slightly based on the model. But the foundation is always the same—water, rice, and patience.
Getting Started with Your Aroma Rice Cooker
First things first, unbox and wash. Always start by cleaning the inner pot.
It’s best to wash the removable inner pot, the lid (if detachable), and the included accessories. Use warm water and mild soap. Don’t use anything abrasive—it can damage the non-stick coating.
Place the rice cooker on a flat, heat-resistant surface. Make sure the steam vent isn’t blocked. Plug it in, and you’re ready to go.
Simple so far, right?
Measuring the Right Amount of Rice
One thing you’ll notice in the Aroma rice cooker instructions is the use of a special measuring cup.
This cup is not a standard US cup. It’s slightly smaller—about ¾ of a regular cup. Always use this cup when following the rice cooker’s measurement guidelines.
For every cup of uncooked rice, you’ll typically need:
- 1 cup of water for white rice
- 1 ½ cups of water for brown rice
The internal pot often has water level lines as well. So, if you lose the measuring cup—just follow the lines inside the pot.
Washing the Rice First Is Essential
Don’t skip this part. It really matters.
Rinse your rice thoroughly before cooking. This helps remove excess starch, preventing gummy or mushy results. Place the rice in a fine strainer or directly in the inner pot and swirl it under cool water.
Rinse until the water runs nearly clear. That’s your signal to stop.
Loading the Cooker: Water, Rice, and Nothing Else (Yet)
Add the rinsed rice to the inner pot.
Now, add the correct amount of water. Close the lid firmly. If your model has a steam vent cap, make sure it’s on. Then plug in the unit and choose the appropriate cooking function.
For example:
- “White Rice” for jasmine or basmati
- “Brown Rice” for long-grain brown rice
Some Aroma models have a “Smart Steam” or “Quick Rice” setting. But for now, let’s stick to the basics.
Pressing Cook: What Happens Next?
Here’s where the magic begins.
Once you’ve selected the cooking mode, the cooker does the rest. You don’t need to stir or check it constantly. Depending on the rice type, cooking time will vary.
White rice takes around 25–30 minutes. Brown rice takes closer to 40–50 minutes.
During the cooking cycle, you’ll hear subtle clicks. That’s completely normal. It’s the internal thermostat doing its job.
Understanding the “Keep Warm” Function
When your rice is ready, the cooker will automatically switch to “Keep Warm.”
This is another benefit outlined in many Aroma rice cooker instructions. You won’t burn your rice if you’re a few minutes late. The cooker keeps it warm and ready for serving.
But here’s a tip: let it sit on “Keep Warm” for 10–15 minutes before opening the lid. This resting time allows the rice to firm up and finish steaming.
Fluffing the Rice Like a Pro
Don’t just scoop it out—fluff it.
Use the provided plastic rice paddle (or a wooden spoon). Stir gently from the bottom up. This helps release trapped steam and improves the texture.
Avoid using metal utensils. They can scratch the non-stick coating inside your Aroma cooker.
READ MORE
Frozen Vegetable Soup For Homes
Advanced Features: Aroma Rice Cooker Instructions Beyond Rice
Now, let’s explore a few surprises.
Many Aroma models can cook way more than rice. Depending on the version, you may have buttons labeled:
- “Steam”
- “Slow Cook”
- “Quinoa”
- “Cake”
Yes—cake!
Let’s break down some of these additional uses.
Steaming Vegetables or Dumplings
With the included steam tray, you can make complete meals.
Fill the inner pot with water. Place vegetables, seafood, or dumplings in the steam tray. Close the lid and use the “Steam” function.
It’s efficient, healthy, and fast. Aroma even includes steaming instructions in most manuals.
Using the Delay Timer
Busy mornings? Use the delay timer.
You can set your Aroma rice cooker to start later. Just add water and rice in the morning, set the timer, and walk away. By dinner, hot rice is ready.
Always avoid leaving perishable ingredients like raw meat inside on delay mode. Stick with rice and water for safety.
Making One-Pot Meals
Some models let you sauté before cooking.
Use the “Saute-Then-Simmer” function to brown onions, garlic, or even diced chicken. Then add rice, water, and spices. The cooker handles the rest.
It’s perfect for weeknight cooking without a mess.
Cleaning Your Aroma Rice Cooker
Let’s not skip this important part.
Once cooled, unplug the cooker. Remove the inner pot and wash it with warm soapy water. Use a soft sponge to avoid scratching.
Wipe the heating plate inside the unit with a dry cloth. Make sure it’s fully dry before storing.
Don’t submerge the cooker base in water. Ever.
Also, clean the steam vent cap and condensation collector regularly. This prevents clogs and funky smells.
Troubleshooting Common Issues
Sometimes things go wrong, but don’t panic. Here are quick fixes.
- Rice is too mushy: You added too much water. Next time, reduce it slightly.
- Rice is too hard or dry: Not enough water or didn’t let it sit after cooking.
- Cooker doesn’t turn on: Check that the inner pot is seated properly and lid is closed.
Reading the full Aroma rice cooker instructions that came with your model can help too. Each unit has small differences.
BUY YOUR COOKER
Storing Your Rice Cooker Safely
Once clean and dry, store your Aroma rice cooker with the lid slightly open.
This prevents trapped moisture, mold, and odors. If your model has a detachable power cord, wrap and secure it neatly.
Store in a dry, cool place, away from greasy or dusty kitchen areas. Keeping it clean and dry helps it last longer.
Pro Tips for Perfect Rice Every Time
Let’s wrap up with some user-approved tips.
- Use broth instead of water for extra flavor
- Add a pinch of salt and a bit of oil or butter before cooking
- Try coconut milk with jasmine rice for a tropical twist
- Don’t open the lid during cooking—let it finish undisturbed
- Experiment with quinoa, oats, couscous, and more
Follow these along with the Aroma rice cooker instructions, and you’ll make meals that wow your family.
Final Thoughts: Aroma Rice Cooker Instructions Are Simpler Than You Think
Cooking rice shouldn’t be stressful. And with the Aroma rice cooker, it never has to be.
Whether you’re meal prepping for the week or making dinner on the fly, this appliance is a reliable kitchen ally. The key lies in understanding the basics—rinse, measure, choose your setting, and wait.
Once you master the core functions, the rest is pure culinary freedom.
So, dust off that rice cooker. Try out these Aroma rice cooker instructions, and taste the difference in every bite.
After all, perfectly fluffy rice is just a button away.